It looks like we'll have remote control of the
grinder timer by the end of the week, along with power for Mr. Coffee and the
Gaggia Classic!
The first step (mentioned in
my previous post) was to get my old (V1.0)
Adafruit Ethernet Shield up and running with an
XPort Direct+ and the color picker sketch on the
examples page. Then I stripped down the sketch, reconfiguring it for general pin control: toggle outputs, set PWM output values, pulse, and read analog values. After that, I simplified it for the coffee control project which only needs three digital output pins.
One obstacle was getting my LAN to the kitchen counter, and an old AirPort Extreme from my scrap bin (found on the street!) did the trick: it now wirelessly bridges our home network via WDS and connects to the ethernet shield with a cable, its USB port powering my
minimal Arduino-compatible board underneath with enough 5V power to spare for Mr. Coffee's relay; I'll add a 12V source for a bigger, higher power relay to switch the Gaggia Classic.
The Arduino side of the system works great, serving a web form (at right) to turn the two power relays on or off and to trigger the
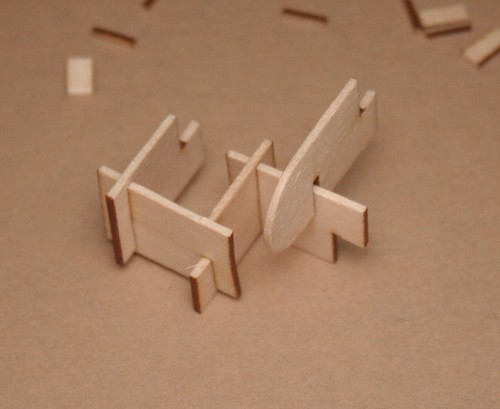
grinder timer. The last part is always the hardest, though: wiring and casing it all up. Safe wiring will take some time to nail down, with Mr. Coffee needing ~1025W and the Gaggia Classic rated at 1370W (!). As for the case itself, lucky for me some folks from
Ponoko are scheduled to make a presentation tomorrow (er, later today ;) at the
Make:SF Meetup-- just the info I need, right when I need it!


 This morning, Liz woke up, tapped the bookmarked link on her iPhone, and then tapped "Click Mr. Coffee ON Button." A few minutes later, she went downstairs and was greeted with a fresh, hot pot of coffee :)
 It looks like we'll have remote control of the grinder timer by the end of the week, along with power for Mr. Coffee and the Gaggia Classic!
 This work is licensed under a Creative Commons Attribution 3.0 United States License.